How to PCB Assemble a Printed Circuit Board
PCB Assemble refers to the process of populating a printed circuit board (PCB) with electronic components, such as resistors, capacitors, and integrated circuits, to create a functional electronic device. There are several steps involved in PCB assembly, including:
- Soldering: This involves melting a small amount of metal, called solder, onto the pads on the PCB to create a connection between the component and the board.
- Parts placement: Components are placed onto the PCB in their designated locations and secured in place using adhesive or mechanical means.
- Inspection: The assembled PCB is inspected for defects, such as soldering errors or misaligned components.
- Testing: The assembled PCB is tested to ensure that it is functioning correctly.
There are several methods for PCB assembly, including manual assembly, automated assembly, and surface mount technology (SMT). The method used will depend on the size and complexity of the PCB, as well as the production volume and cost constraints.
Printed circuit boards, or PCBs, are the backbone of modern electronics. From smartphones to medical devices and self-driving cars, PCBs are the foundation for all these amazing devices. Assembling PCBs is a complex but rewarding task. In this blog article, we’ll look at all the steps involved in PCB assembly and how you can get started on your own projects.
What is a Printed Circuit Board (PCB)
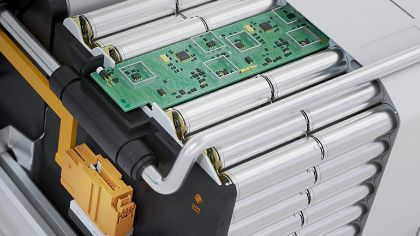
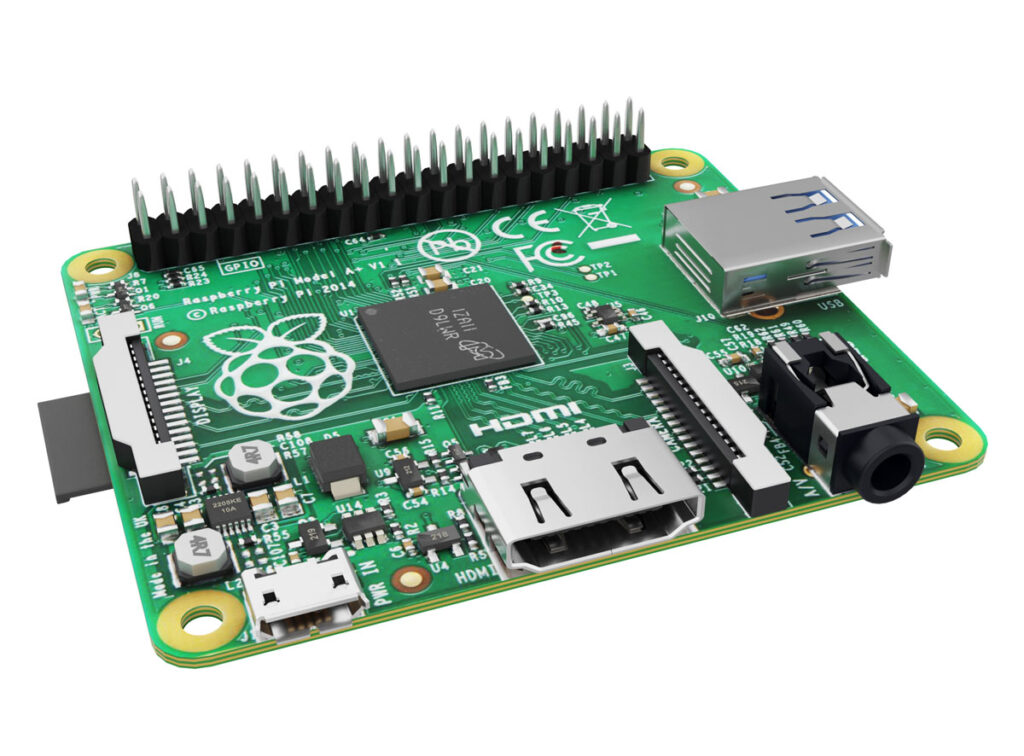
A printed circuit board, or PCB, is a thin board made of a non-conductive material like fiberglass, which is then coated with a conductive material like copper. It contains electrical components like resistors, capacitors, and transistors, which are connected together by copper traces, or patterns, that are etched onto the board. PCBs are used in almost every electronic device, from computers and smartphones to medical devices and self-driving cars.
The main benefit of using a PCB is that it allows for very complex circuits to be built in a much smaller form factor than traditional wiring. The PCB also makes it easier to troubleshoot problems, since each component is clearly labeled and easy to find.
Benefits of Assembling Printed Circuit Boards
Assembling PCBs is a great way to learn about electronics and gain valuable skills that can be used in many different industries. From the medical field to the tech industry, PCB assembly is used in a variety of different applications. Assembling PCBs can also be a great way to make money, as many companies outsource their PCB assembly needs to freelancers.
Additionally, assembling PCBs can be a great way to express your creativity. You can design your own PCBs and bring your ideas to life. You can also experiment with different circuits and components to create new and innovative devices.
Tools and Materials Needed for PCB Assembly
Before you can begin assembling a PCB, you need to make sure you have all the right tools and materials. The most important tools are a soldering iron, solder, and flux. You’ll also need tweezers, pliers, wire cutters, and a heat gun. Other materials you’ll need include a printed copy of the schematic, a printed copy of the layout, and the components to be soldered onto the board.
Understanding the Design of Your PCB
Understanding the design of your PCB is key to a successful assembly. Before you begin, you should make sure you have a good understanding of the schematic and layout of the board. This will help you understand the purpose of each component and how the components should be connected. Once you have a good understanding of the design, you can begin the assembly process.
Soldering Components on Your PCB
The next step in PCB assembly is soldering the components onto the board. This is done by placing the components onto the board and then using a soldering iron to melt the solder onto the components. It’s important to use the right type of solder and flux, as well as the right amount of heat, to ensure a good connection between the components and the board.
Testing and Troubleshooting Your PCB
Once you’ve soldered all the components onto the board, it’s important to test the circuit to make sure it’s working correctly. This can be done by connecting the board to a power source and then using a multimeter to measure the voltage and current. If there are any issues, you can use a process of elimination to troubleshoot the problem.
Final Assembly and Finishing Your PCB
Once you’ve tested and troubleshot your PCB, the next step is to finish the assembly process. This involves attaching any additional components that need to be soldered and then adding the final touches to the board. This could include adding labels and engraving, as well as adding a protective coating like conformal coating. Finally, you can attach the board to the enclosure or chassis.
Troubleshooting Common PCB Issues
Assembling PCBs can be a complex task, and there are a number of common issues that can arise. From soldering problems to faulty components, it’s important to be aware of these issues so you can troubleshoot them quickly and effectively. The most common issues include dry joints, cold solder joints, and damaged components.
Choosing the Right PCB Assembly Service
If you’re looking for a professional PCB assembly service, it’s important to choose one that has the experience and expertise to handle your project. You should look for a service that offers a wide range of services, from design and prototyping to assembly and testing. Additionally, it’s important to choose a service that offers competitive prices and fast turnaround times.
Conclusion
Assembling PCBs can be a complex but rewarding process. From understanding the design of the board to soldering components and troubleshooting common issues, there are many steps involved in the assembly process. With the right tools, materials, and services, you can assemble your own PCBs and bring your ideas to life.